Homemade no-churn Ice Cream
I stumbled upon a delightful treat known as a “nice cream,” which involves bananas with a touch of your preferred fruit. 🍌
I noticed that the banana flavor tends to dominate, so I experimented with cocoa powder, resulting in a rich chocolatey taste!

Prep Time : 8 min
Ingredients
- 4 oz ~1 banana (about 120 g)
- 2 tablespoons (25 g) unsweetened cocoa powder
- 1 tablespoon maple syrup

Step 1: Preparing the Banana
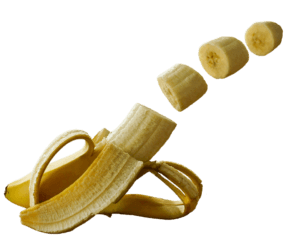
- Slice the banana into small rounds.
- Place the slices in a wide container to prevent sticking. I typically use a rectangular container lined with cling film.
- Freeze the banana slices for about 5 hours.
Step 2: Chocolate Ice Cream
- Take out the frozen banana slices about 3 minutes before blending.
- Put them in your blender.
- Add 2 tablespoons (25 grams) of cocoa powder and a tablespoon of maple syrup.
- Blend for about 1 minute initially, then scrape down the sides with a spatula.
- Blend again until you achieve a creamy texture. This may take 2 to 3 minutes. If the consistency is too thick, consider adding a splash of plant-based milk and blending again.
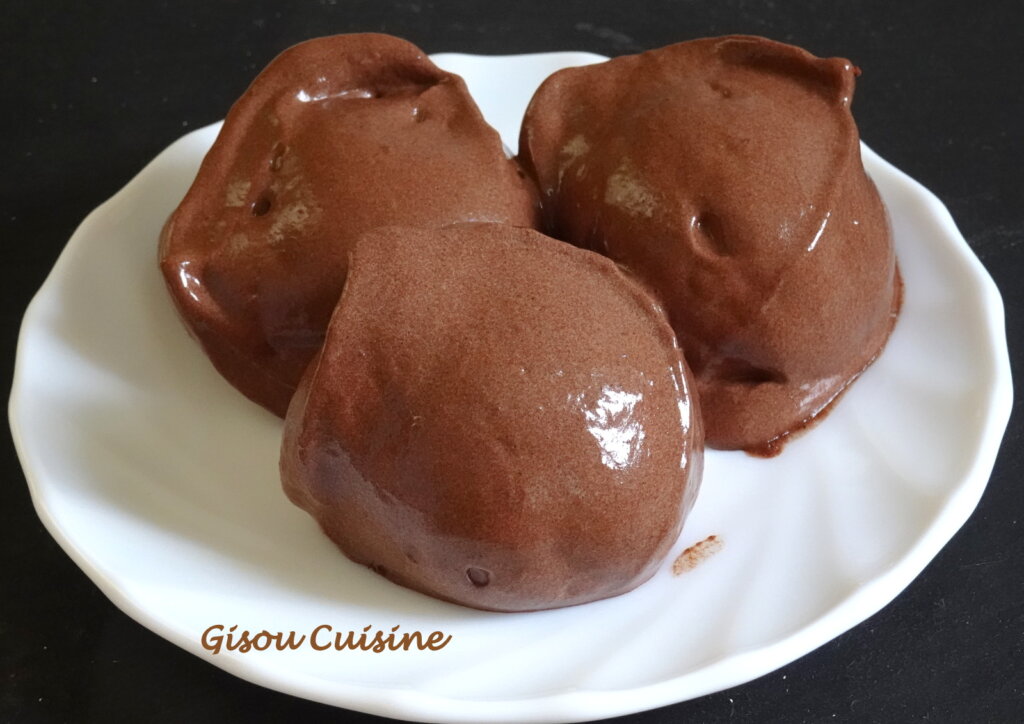
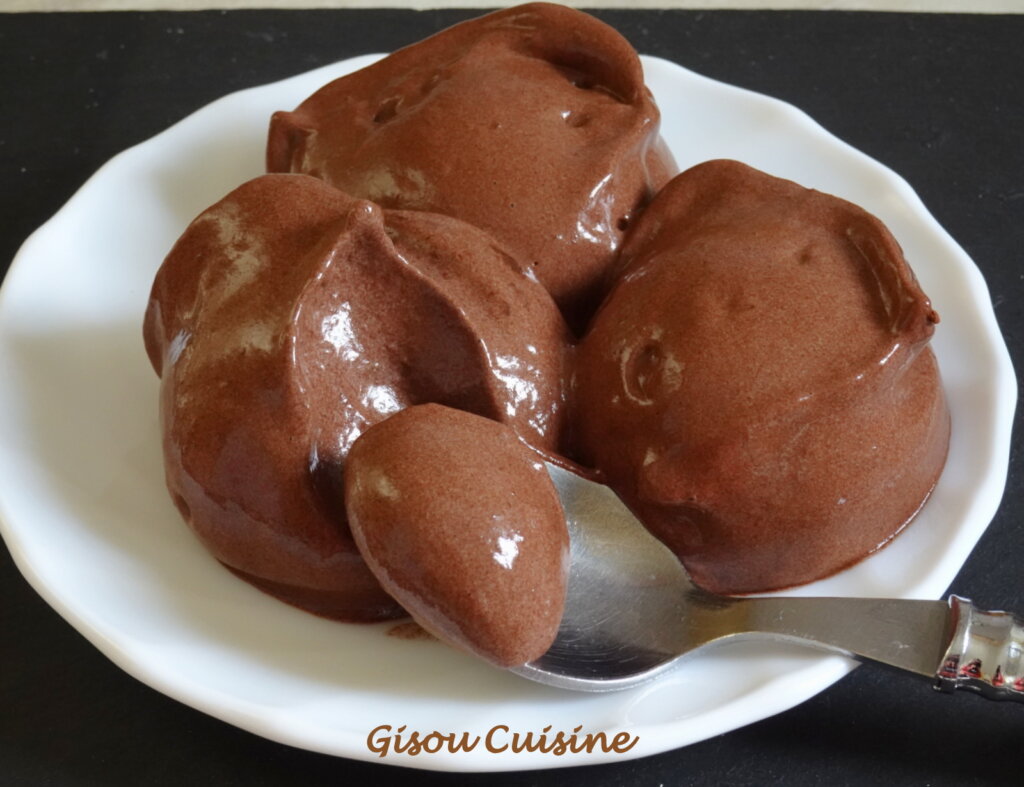
- Using an ice cream scoop, form your ice cream scoops.
Serve immediately(*)

Enjoy your Chocolate Ice Cream!
Gisou’s tips and tricks
- With the above quantities, you can make 3 nice chocolate ice cream balls (as shown in the picture).
- (*) The balls are a bit soft (like Italian gelato). If you want to firm them up, you can place them in the freezer for a few minutes before serving (15 minutes are enough, any longer and they will be too hard!).
- I tasted this recipe as soon as I took the photos, then I put the plate in the freezer while waiting for my husband to come back. When he returned 15 minutes later, I took out the plate for him to taste, and I noticed that the texture had firmed up just right.
Healthy Chocolate Ice Cream Recipe


